I’ve just finished a little commission for someone and I thought I’d share.
They wanted two sets of nesting dolls, one set all in Salvation Army uniform and one set without uniform.
So here’s how I made them.
I bought the nesting dolls from Amazon, they were quite cheap, but needed a bit of work from the old Dremel. They were very tightly fitted and for one moment I thought they’d never come apart, but I managed it and spent some time sanding out the lining to make a better fit. I also smoothed off the top and bottom which had notches from being on a lathe.
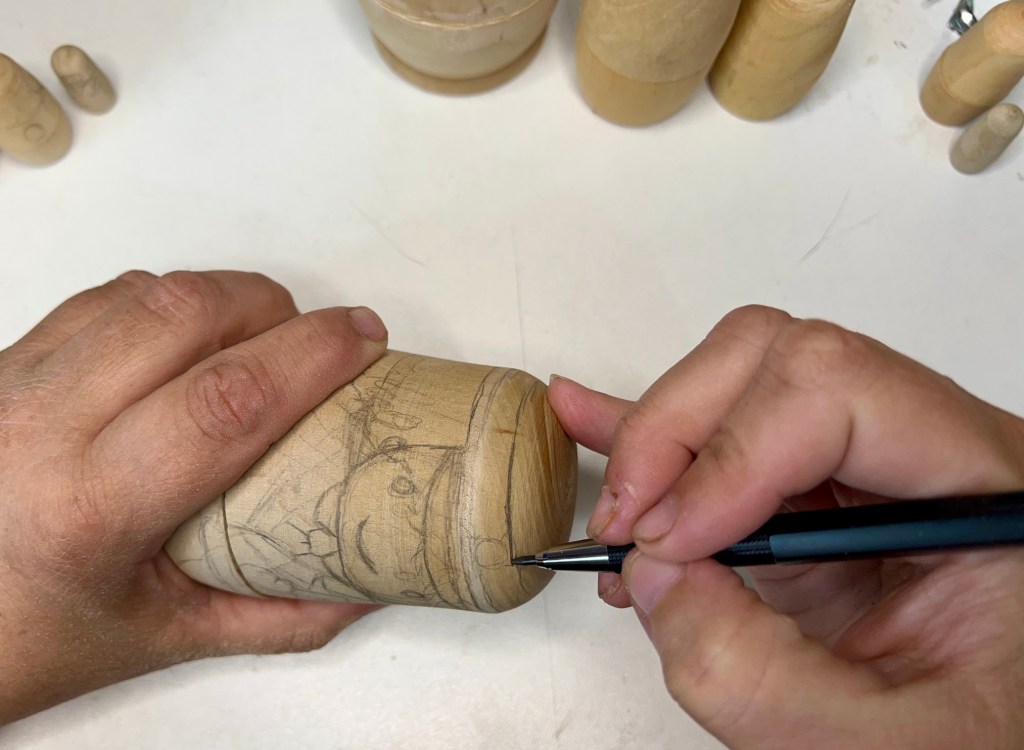
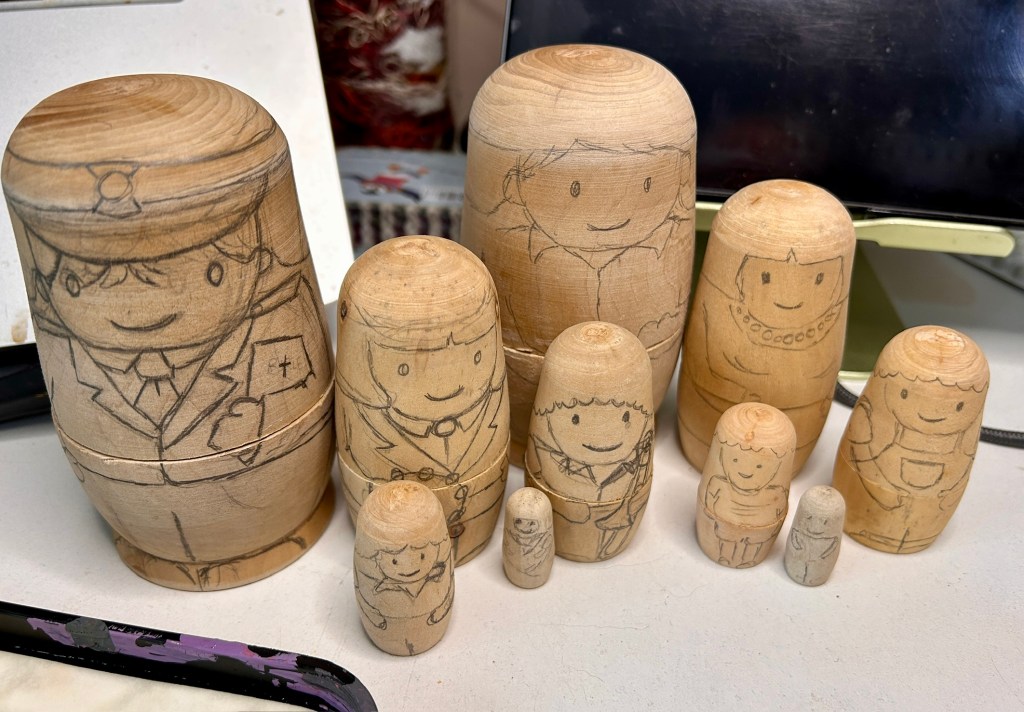
Next step is to draw the image in pencil on the dolls. I do light sketches, then a final sketch in a darker pencil. Sometimes I then wood burn the image into the dolls, but I chose not to this time.
Next, I paint the dolls with Acrylic paint, I do a bit of the doll at a time, often starting with a colour i.e. navy, and painting all the navy parts which gives each doll time to dry.
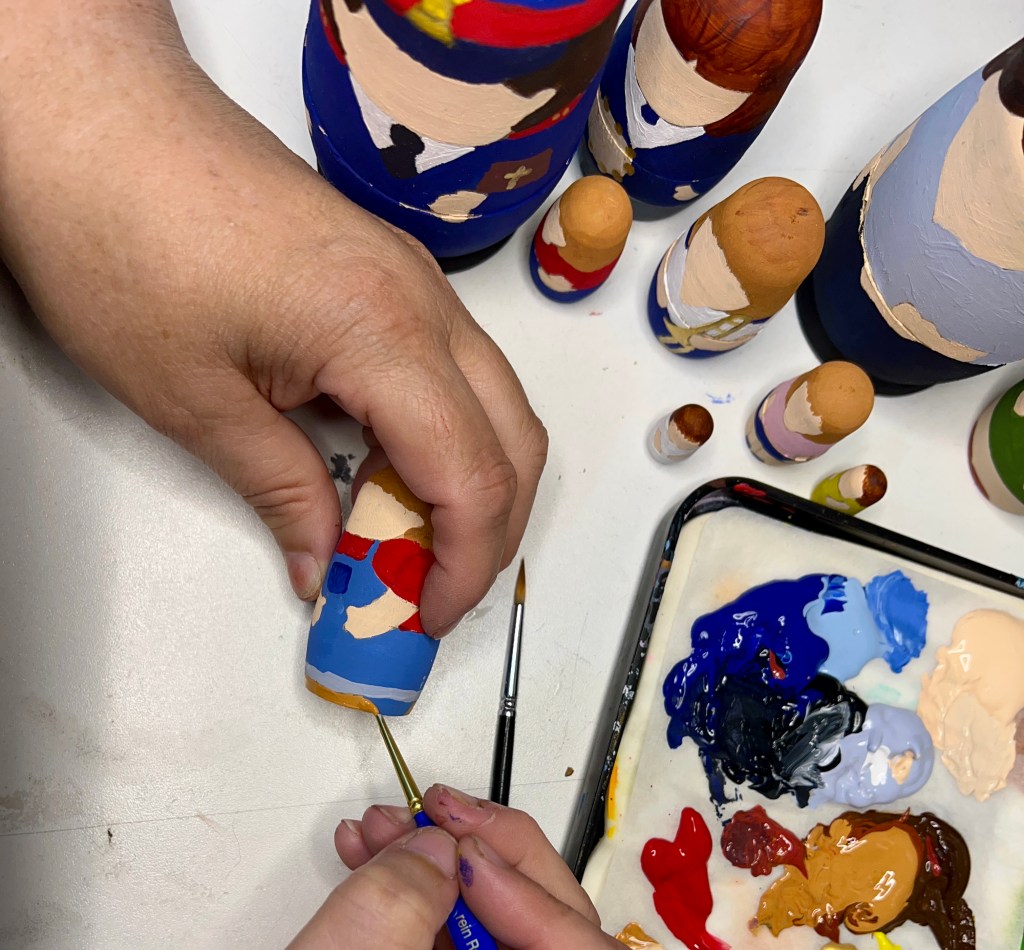
After the paint has dried I outline the dolls with black paint and ink. It’s important to use an ink which is water proof, otherwise the ink will smudge when you varnish them. For the eyes I use a dotting tool and black paint which gives me the best chance of even eyes.

Finally I use Mod Podge to varnish the dolls. I have my own preferred way of doing a first coat with Mod Podge normal, then a second coat with Mod Podge Dishwasher safe gloss. All paints and varnishes I use have the CE certification as safe in the EU.
Anyway, here’s the finished dolls, ready to go to their new home.


Leave a comment